Initial Setup Guide
This guide will help you set up your SmarterMail email hosting service for the first time.
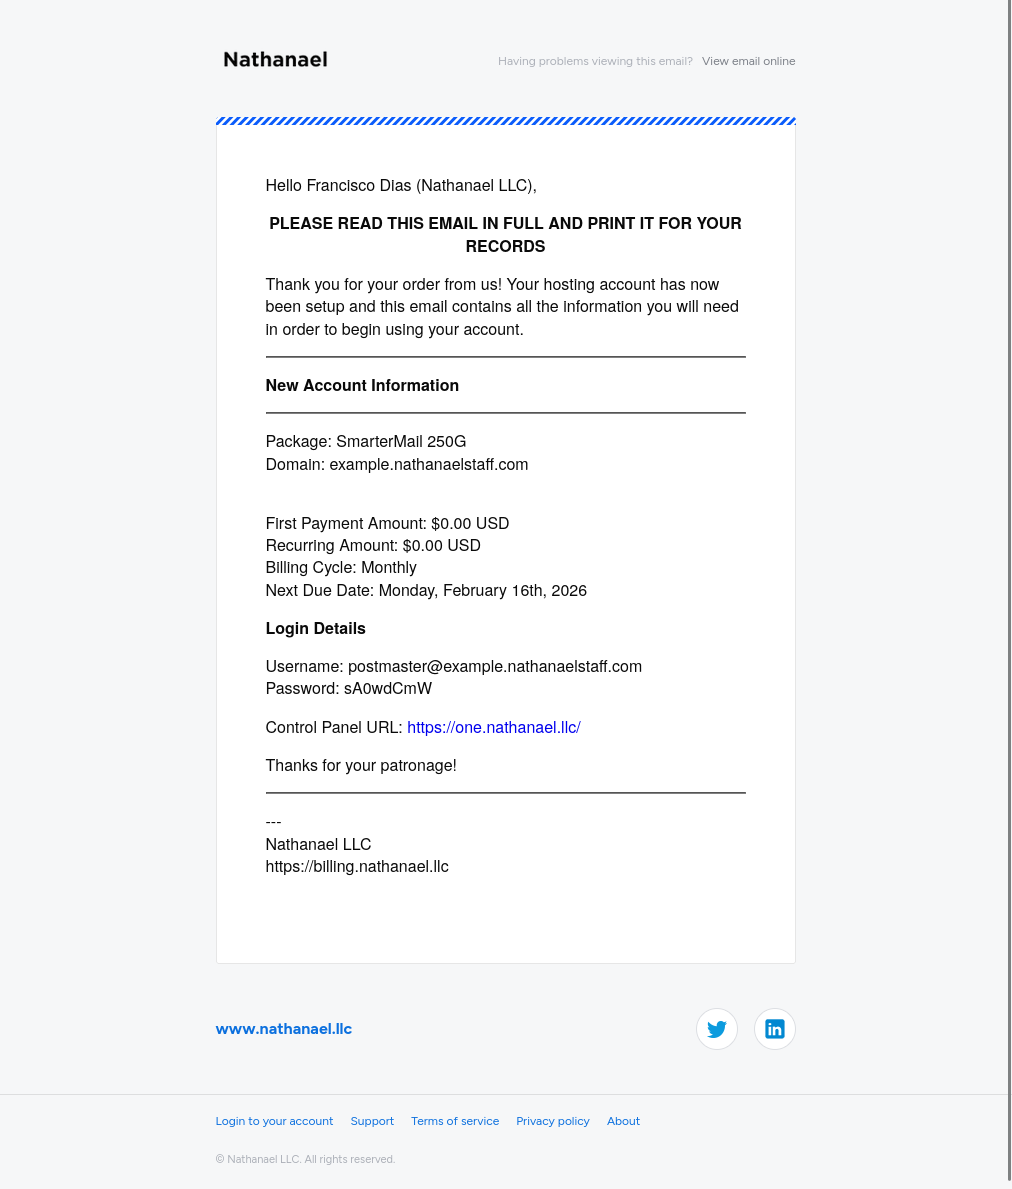
Receive Your Welcome Email
Once your order has been processed by billing, you’ll receive a welcome email from us containing your account details.
Important
Save this email! It contains your postmaster login credentials!!! the master account for your email hosting. Keep it secure and accessible.
Retrieve Your Account Information
The postmaster login is the master account for your email hosting. You’ll use it to create and manage all email accounts.
- Log in to your billing portal
- Click Manage Product for your SmarterMail service
- Note down your postmaster credentials
Configure DNS Records
Caution
You must verify you own this domain before it’s fully functional.
Add the following DNS records to your domain registrar:
| Type | Record Name | Value | Priority |
|---|---|---|---|
| TXT | workspace-verification.example.nathanaelstaff.com | 1ffd70e3-21f8-4c39-a2fe-c979b5ef47c1 | — |
| CNAME | mail.example.nathanaelstaff.com | us1.workspace.org | — |
| CNAME | autodiscover.example.nathanaelstaff.com | us1.workspace.org | — |
| TXT | @ (your domain) | v=spf1 include:_spf.workspace.org -all | — |
| MX | @ (your domain) | mx1.mxfilter.net | 10 |
| MX | @ (your domain) | mx2.mxfilter.net | 10 |
| MX | @ (your domain) | mx3.mxfilter.net | 20 |
| MX | @ (your domain) | mx4.mxfilter.net | 20 |
Note: Replace example.nathanaelstaff.com with your actual domain name.
What’s Next?
Once DNS records are configured, proceed to Getting Started to create your first email account.